LilyGO TTGO T-Display Solar Monitor with ESPHome
Overview
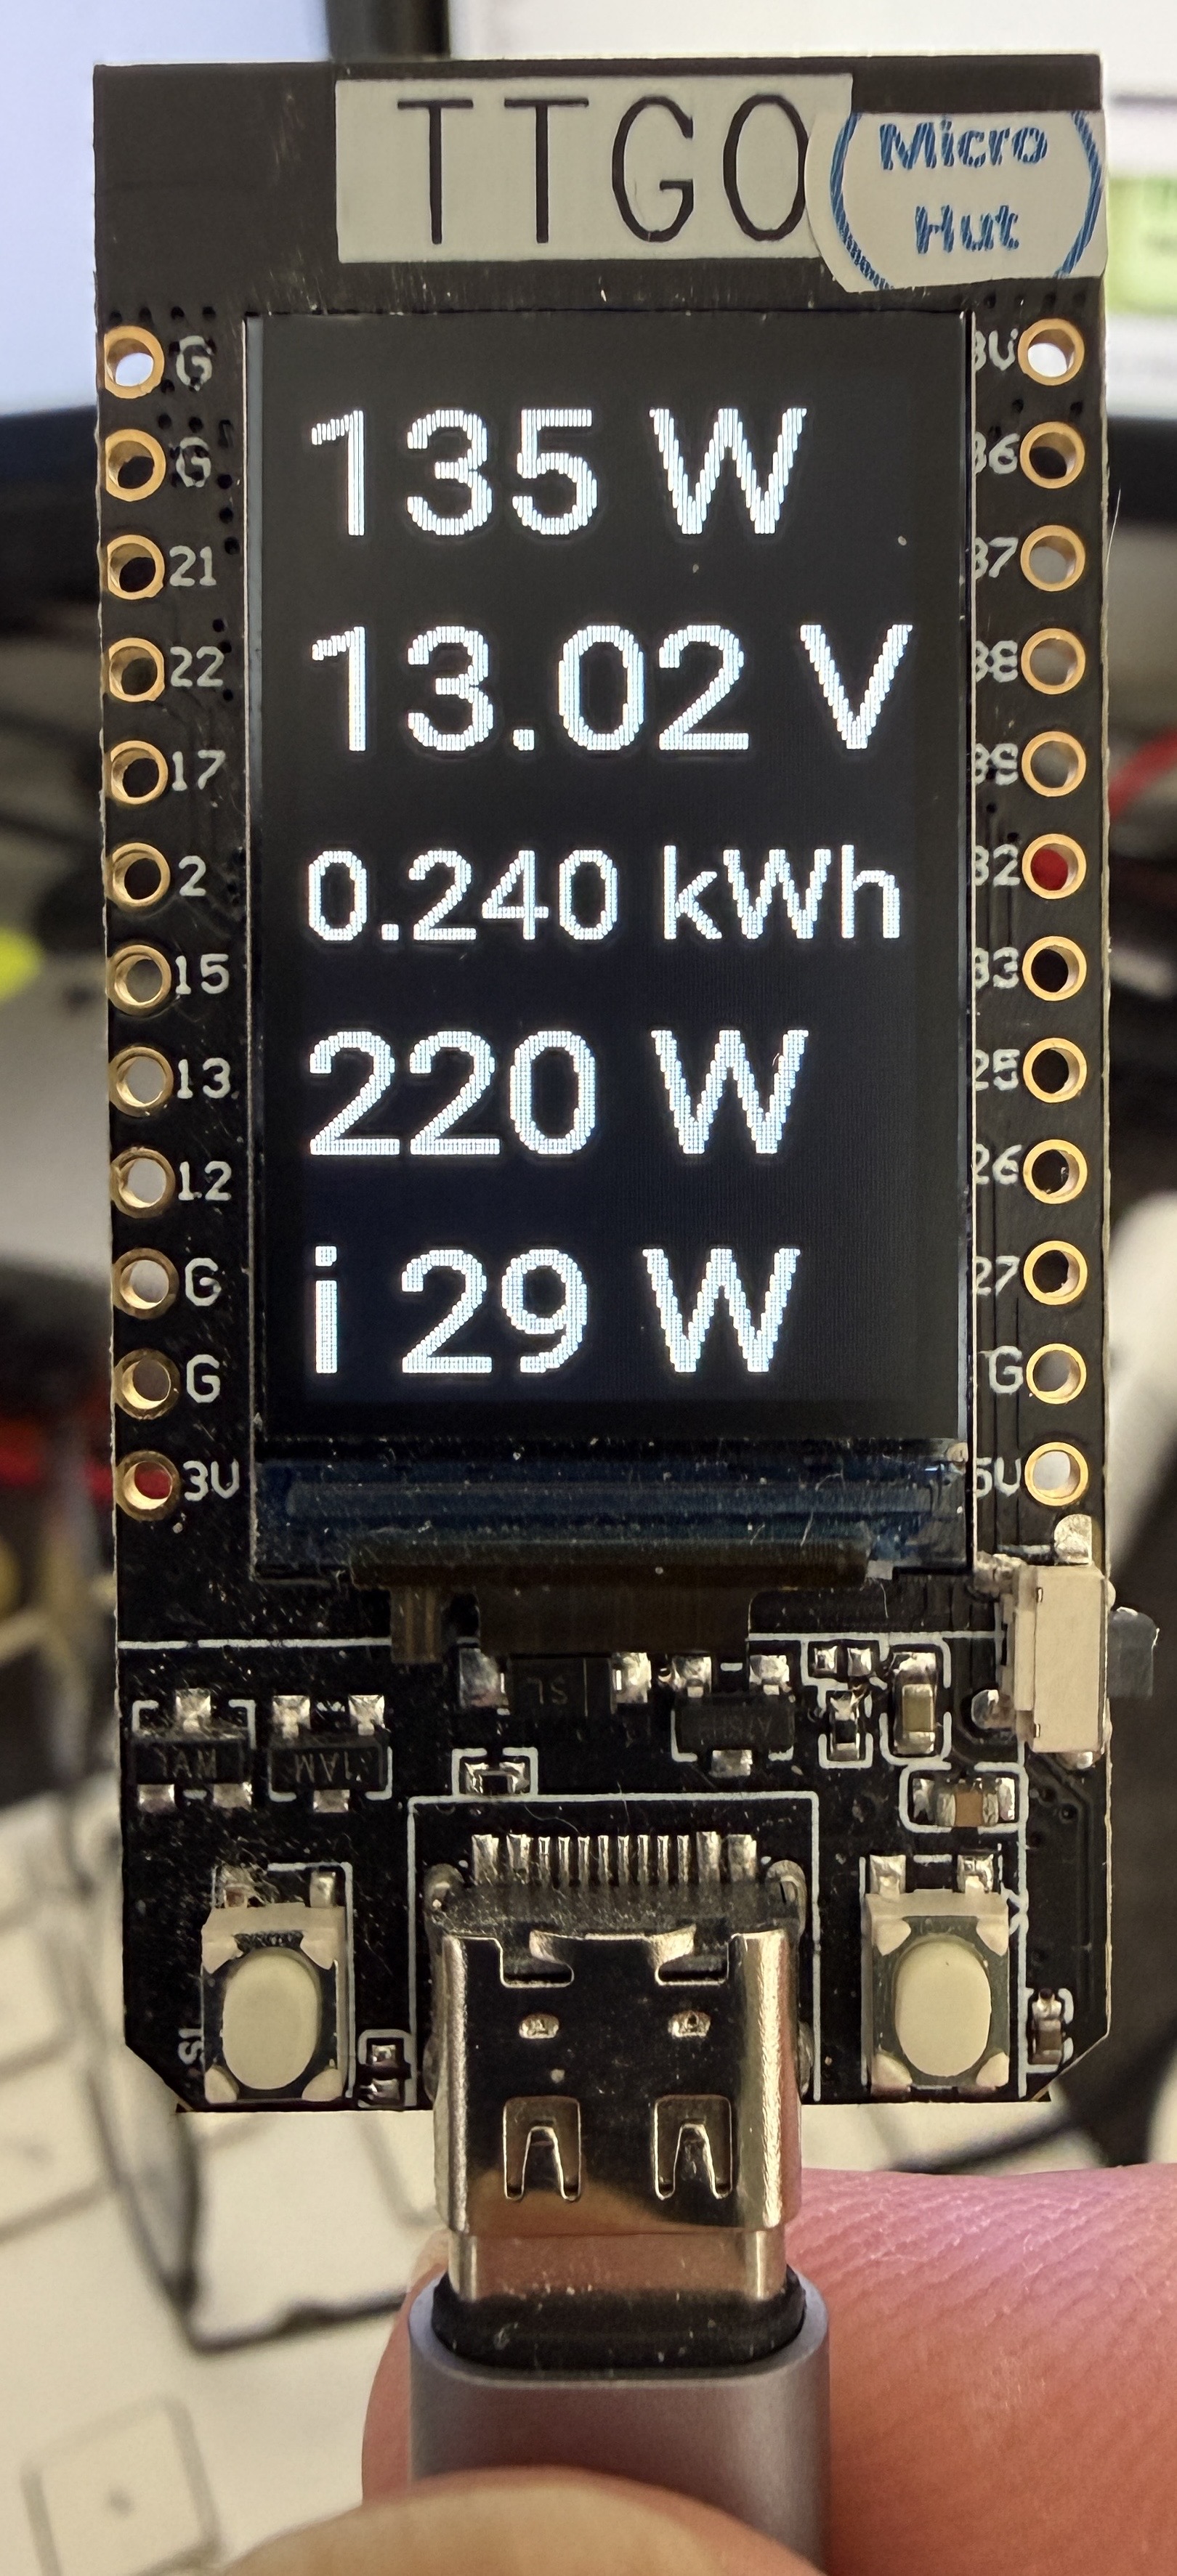
The LilyGO TTGO T-Display is a compact ESP32 board with a built-in 1.14" ST7789V colour TFT display. This guide covers flashing it for the first time and configuring it with ESPHome to display live solar and house power data — pulling Victron MPPT figures from MQTT and house consumption from Home Assistant.
What the display shows:
- PV Power (W) — from Victron MPPT via MQTT
- Battery Voltage (V) — from Victron MPPT via MQTT
- Yield Today (kWh) — from Victron MPPT via MQTT
- House Power (W) — from Home Assistant
- Total Load Power (W) — from Home Assistant
Hardware
| Spec | Detail |
|---|---|
| Display | 1.14" ST7789V IPS TFT |
| Resolution | 135 × 240 |
| Pixel density | 260 PPI |
| Interface | 4-wire SPI |
| Supply voltage | 3.3V |
| SoC | ESP32 (dual-core) |
First Flash
The TTGO T-Display needs to be flashed via USB before ESPHome OTA is available.
- Connect the board via USB-C
- In the ESPHome dashboard, create a new device and paste the configuration below
- Use Install → Plug into this computer for the first flash
- Subsequent updates can be done via OTA
On some systems you may need the CP210x USB driver. The board appears as a standard serial port.
ESPHome Configuration
Secrets: MQTT credentials and WiFi details are stored in
secrets.yamlrather than hardcoded. See the Home Assistant foundations guide for how to set this up.
esphome:
  name: lilygo
  friendly_name: lilygo

esp32:
  board: esp32dev
  framework:
    type: esp-idf

logger:

api:

ota:
  - platform: esphome

wifi:
  ssid: !secret wifi_ssid
  password: !secret wifi_password
  ap:
    ssid: "Lilygo Fallback Hotspot"
    password: !secret lilygo_ap_password

mqtt:
  broker: !secret mqtt_broker
  username: !secret mqtt_username
  password: !secret mqtt_password

sensor:
  - platform: mqtt_subscribe
    name: "PV Power"
    id: pv_power
    topic: esphome-web-78378c/sensor/pv_power/state
    unit_of_measurement: "W"

  - platform: mqtt_subscribe
    name: "Battery Voltage"
    id: battery_voltage
    topic: esphome-web-78378c/sensor/battery_voltage/state
    unit_of_measurement: "V"

  - platform: mqtt_subscribe
    name: "Yield Today"
    id: yield_today
    topic: esphome-web-78378c/sensor/yield_today/state
    unit_of_measurement: "kWh"

  - platform: homeassistant
    name: "House Power"
    id: house_power
    entity_id: sensor.sonoff_1002263266_power
    unit_of_measurement: "W"

  - platform: homeassistant
    name: "Total Load Power"
    id: total_load_power
    entity_id: sensor.total_load_power
    unit_of_measurement: "W"

spi:
  clk_pin: GPIO18
  mosi_pin: GPIO19

output:
  - platform: ledc
    pin: GPIO4
    id: backlight_output

light:
  - platform: monochromatic
    output: backlight_output
    name: "Display Backlight lilygo"
    id: backlight
    restore_mode: ALWAYS_ON

display:
  - platform: mipi_spi
    model: T-Display
    cs_pin: GPIO5
    dc_pin: GPIO16
    reset_pin: GPIO23
    invert_colors: true
    rotation: 0
    lambda: |-
      it.fill(Color(0, 0, 0));
      it.printf(0, 0,   id(font_big),   Color(255, 255, 255), "%.0f W",   id(pv_power).state);
      it.printf(0, 50,  id(font_big),   Color(255, 255, 255), "%.2f V",   id(battery_voltage).state);
      it.printf(0, 106, id(font_value), Color(255, 255, 255), "%.3f kWh", id(yield_today).state);
      it.printf(0, 144, id(font_big),   Color(255, 255, 255), "%.0f W",   id(house_power).state);
      it.printf(0, 195, id(font_big),   Color(255, 255, 255), "i %.0f W", id(total_load_power).state);

font:
  - file: "gfonts://Roboto"
    id: font_label
    size: 20
  - file: "gfonts://Roboto"
    id: font_value
    size: 28
  - file: "gfonts://Roboto"
    id: font_big
    size: 40

button:
  - platform: restart
    name: "Restart lilygo"
How It Works
The Victron MPPT figures (PV power, battery voltage, yield) arrive via MQTT, published by the dedicated Victron BLE reader ESP32 — see the Victron MPPT BLE monitoring post for that side of the setup. The house power sensors come directly from Home Assistant via the native API, so the device needs to be added to HA under Settings → Devices & Services → ESPHome as well.
The display lambda runs on every refresh cycle, clears the screen to black, and redraws all five values using Roboto at two sizes — 40pt for the main power and voltage figures, 28pt for yield today which is a smaller number with more decimal places.
The MQTT mqtt_subscribe sensors update whenever a new value is published — typically every 30–60 seconds from the Victron reader. The homeassistant platform sensors update in near real time via the ESPHome API connection.
Gotchas
ESPHome 2026.4.0 breaking change
The ili9xxx platform was removed. Use platform: mipi_spi with model: T-Display instead. The named model handles dimensions and offsets automatically — the explicit dimensions: block with offset_height and offset_width is no longer needed and should be removed.
invert_colors: true
Without this the display colours are inverted — white text appears black on a white background. This is normal for this panel and is not a wiring fault.
Board variant
Use board: esp32dev not a TTGO-specific board target. The TTGO-specific targets in ESPHome can cause pin mapping issues; esp32dev with explicit pin assignments works reliably.
font_label is defined but unused
The configuration defines font_label at 20pt which is not used in the current display lambda. It is left in as a convenience for adding labels if you want to annotate the readings.